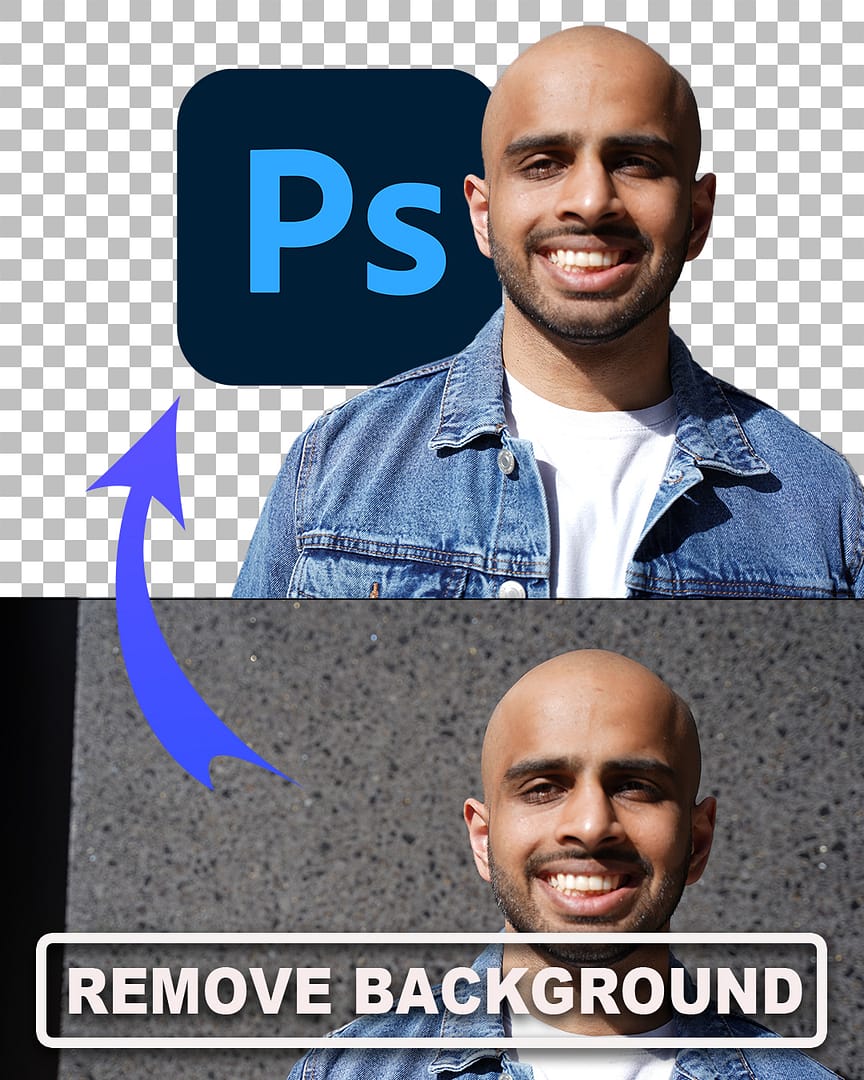
Removing a background from images is a technique I use a lot when creating my edits. There are websites like remove.bg out there which uses AI technology to automatically do this for you. However, it is not perfect and at the end of the day, it’s always better to manually remove the background yourself if you want to see the most accurate results.
In this written tutorial, I will highlight the different methods you can use to remove the background from your images.
Please note that this tutorial is aimed towards beginners who are new to Photoshop. If you are serious about improving your editing skills with Adobe Photoshop and want to take your artwork to the next level, it is very important that you are aware of the different methods you can use to remove the background from the image you are working with.
Different tools will work best for different scenario’s so make sure you familiarize yourself with the different methods outlined in this article. I will also show you some common beginner mistakes to avoid in this blog post, which I find many other written tutorials don’t touch upon, one of the major mistakes I see is working destructively on image edits.
I always work on my edits non-destructively where possible and I recommend you to adopt a similar approach to your work too. Even if you’re an intermediate or advanced Photoshop user, I would still recommend you to read through this blog post as a refresher so that you can avoid picking up bad editing habits in your editing workflow.
It really does depend on the type of image you are editing, so knowing which method to use is key to getting the best possible results with your Photoshop edits.
The reason why I have included this as a stand-alone article is because this is the article that I will be referring to a LOT when I am writing up tutorials on how I create my edits inside of Adobe Photoshop in the future.
I will show you the different methods which you can use to remove the background.
Now you will need to open up the Adobe Photoshop CC app on your desktop to follow along, otherwise this guide may not make sense to you.
1. Remove Background AI Tool
The Remove Background Tool is one of the new features introduced in Adobe Photoshop CC 2023. This tool helps you to remove the background automatically from your image.
When it comes to background removal, this tool takes it a step further than the Object Selection Tool (which I will also cover in this article).
If you’re looking for an easy way to remove the background from a photo, the Remove Background Tool is a nice tool for the job. Let the power of AI do its magic for you.
How to use the Remove Tool
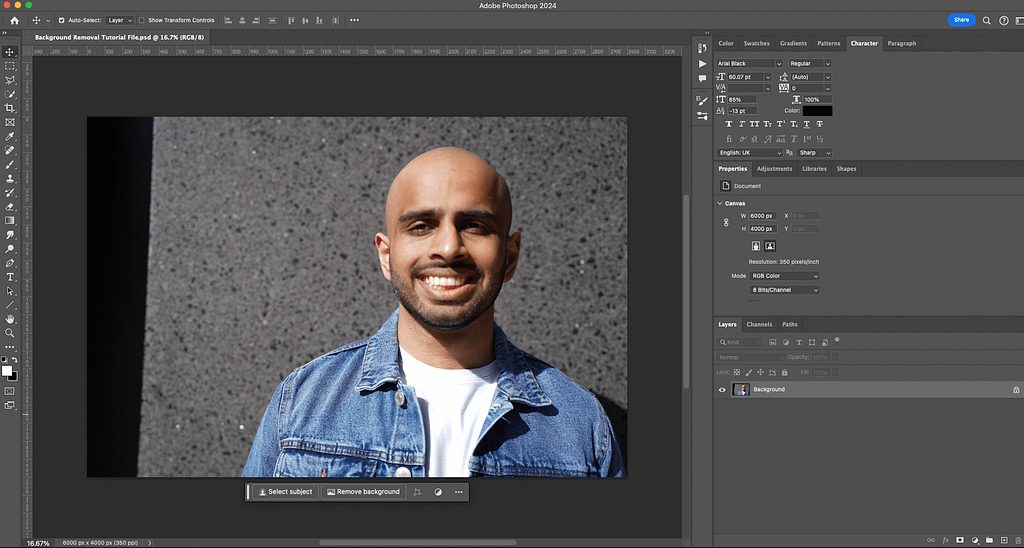
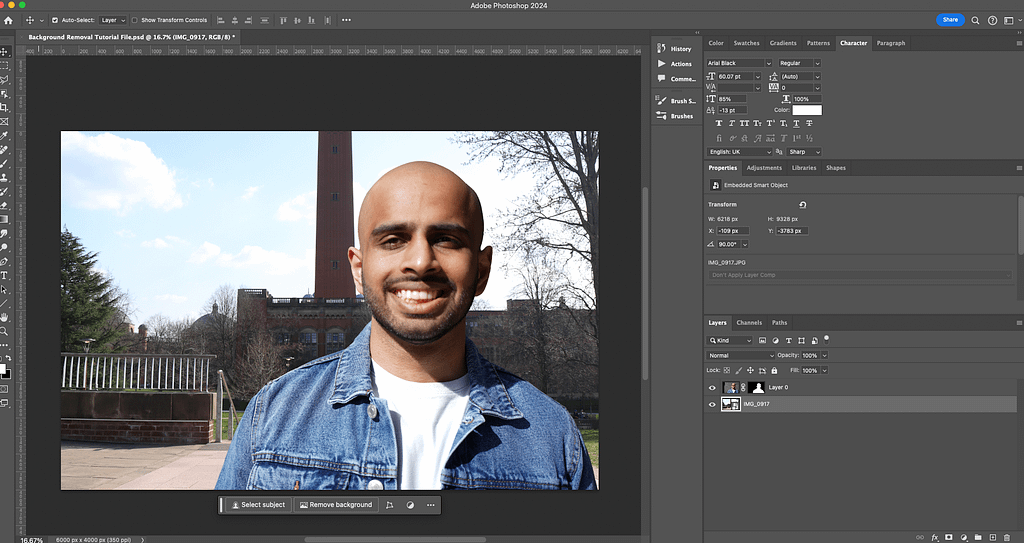
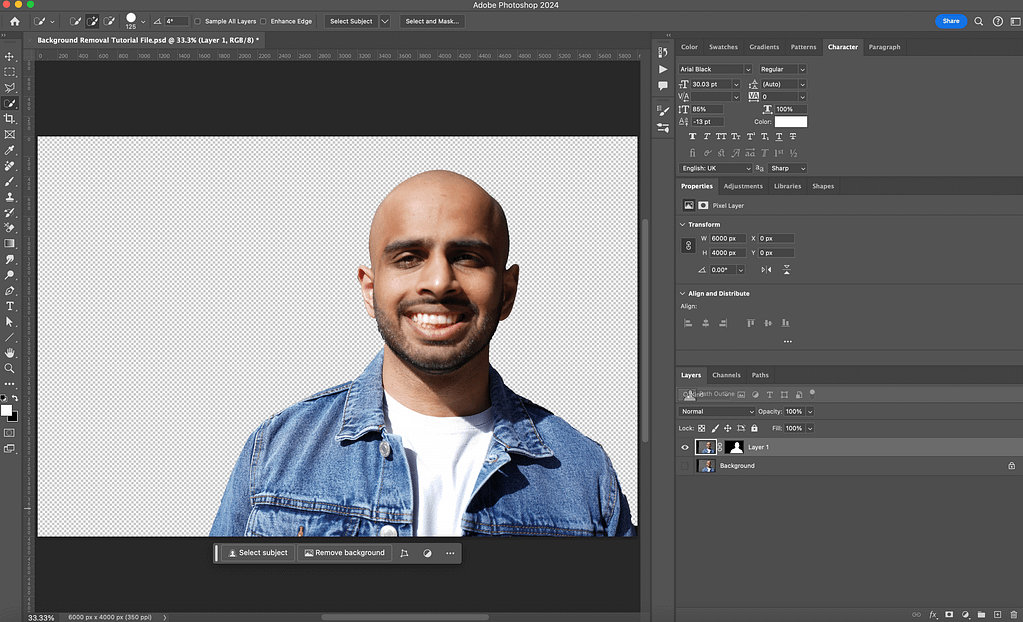
Open up the image of your choice in Photoshop. Go to File > Open > Select image of your choice
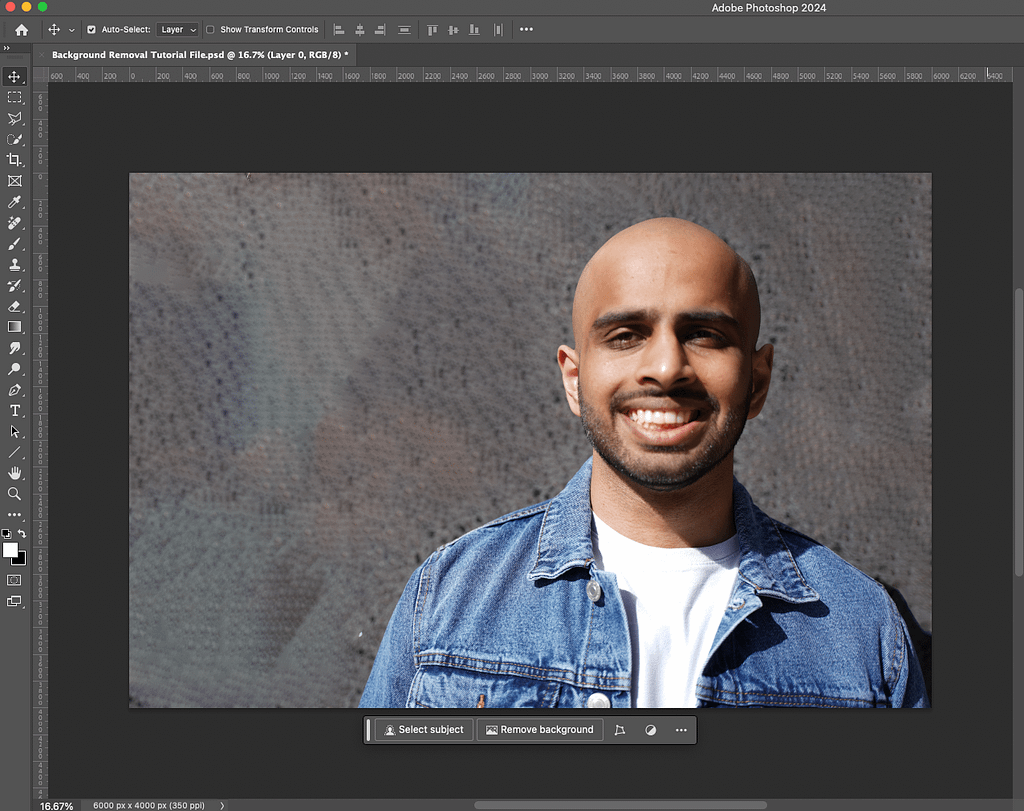
Then the photo will import into the Photoshop workspace. For this tutorial, I will be using a photograph of myself for demonstration purposes.
- At the bottom of your workspace, you should see a box with a couple of buttons to select from. Make sure you don’t have anything selected for this step. You can select ‘Remove Background’ button and the background will be removed from your image.
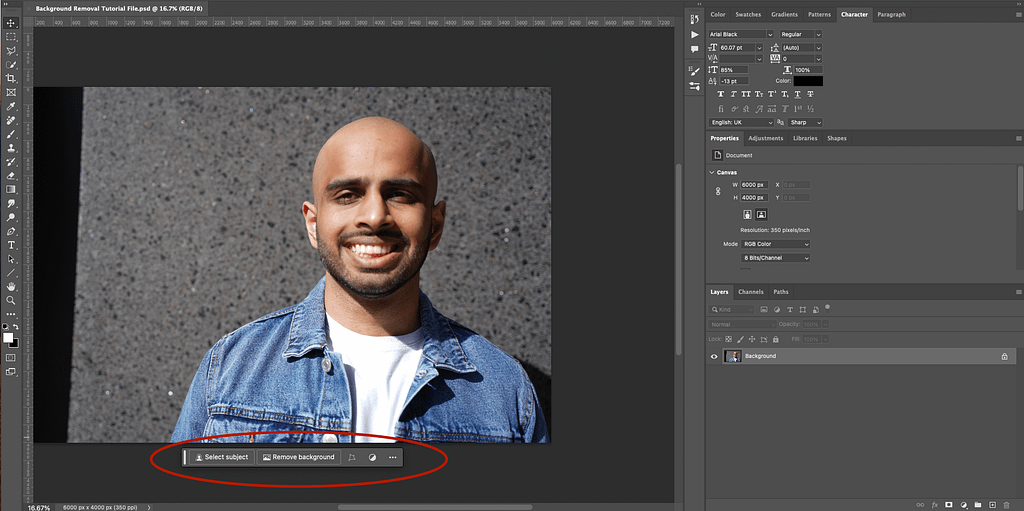
Once you select ‘Remove Background’, wait a few moments and the background will disappear. You should now see something like this.
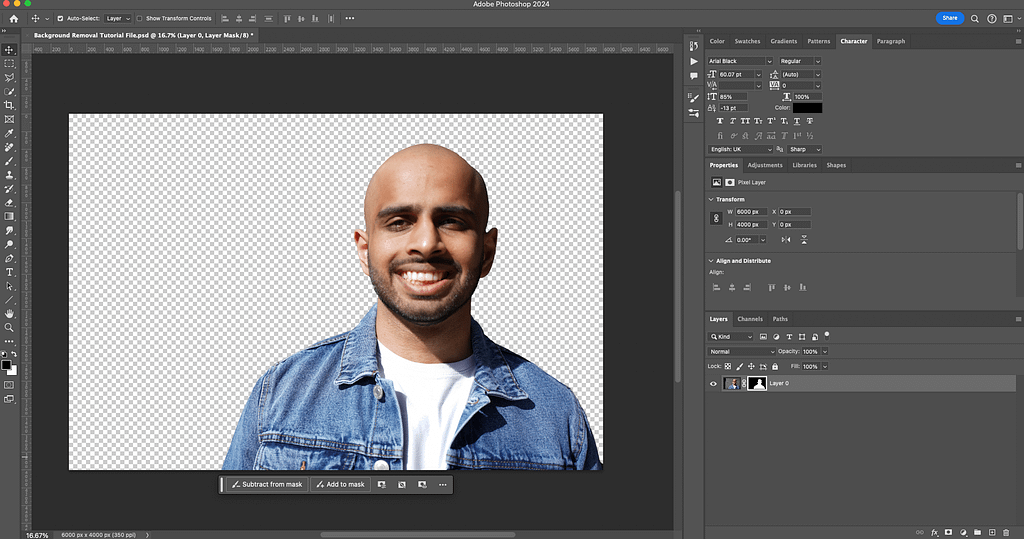
This already looks pretty good! Although if you want to make it look even better, you can click on the layer mask (Where it shows the black and white area of the image) and where it shows the menu below the image, you can alternate between “Subtract from Mask” and “Add to Mask” options.
With layer masks, remember that black hides the pixels of the image and white shows the pixels of the image.
- “Subtract from Mask” should be used to hide the remaining background.
- “Add to Mask” should be used to show any of the subject that may have been accidentally hidden.
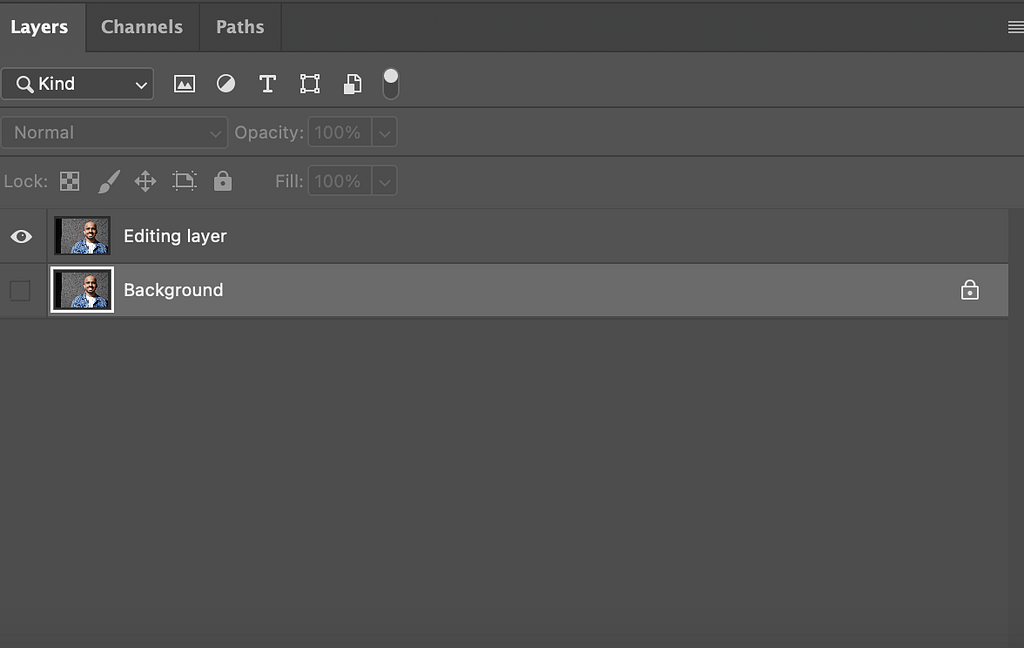
Note: If you want to remove the background non-destructively, I would recommend that you duplicate the background layer (Ctrl + J Shortcut) so that you can use the Remove Tool on the copy layer and not the original background layer.
The Remove Background Tool uses AI technology and is very useful for background removal with just one click of a button. This can work for most images if they’re in high resolution and the subject contrasts with the background.
This is my go to method if I have a simple image to work with. For more complex images, I use the Pen Tool (Which I will explain in more detail later on in this article).
There is also a “Remove Tool”, where you can “paint” over what you want removed from the image and the tool calculates what you mean by that. This tool can be found in the same menu as the ‘Spot Healing Brush’ tool.
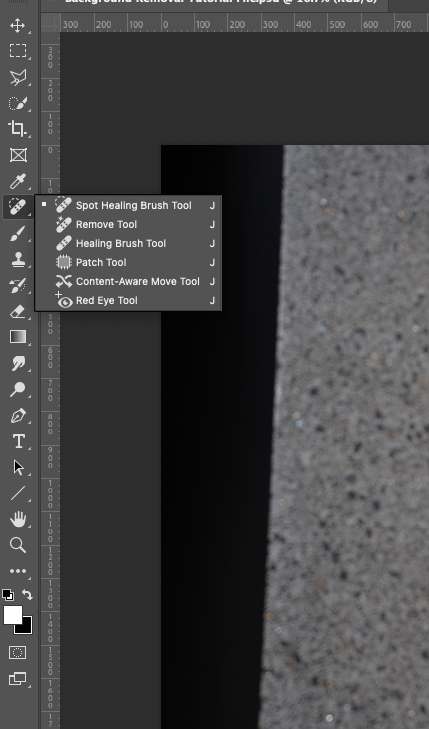
You can “paint” the background all in one stroke, without letting go and when you let go, Photoshop will then calculate how to remove the background. However, the end result is that it is “smoothed” out in the background rather than removing it entirely (see below).
This can be useful if you’re working with a busy background but don’t necessarily want to remove it completely to transparency, but it is more time consuming and effort to paint it, edit it and getting it to look how you want it to look.
The “Remove Tool” is useful for removing unwanted objects, not just backgrounds. You can refer to the Photoshop documentation guide: https://helpx.adobe.com/photoshop/using/tool-techniques/remove-tool.html
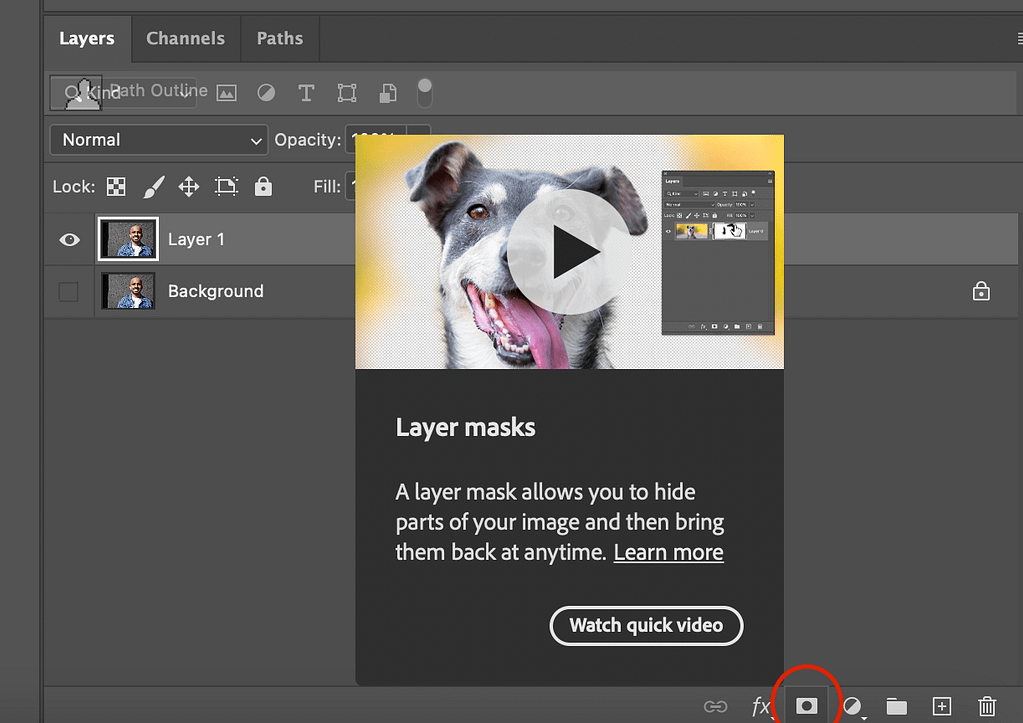
If you need help with masks, you can refer to this article here: https://creativecloud.adobe.com/en/learn/photoshop/web/layer-mask
Overall, I would say the easiest option would be to select the ‘Remove Background’ button and any refinements can be made with the layer masks via ‘Select and Mask’ and you can ‘Feather’ the images to make the edges look less choppy and more smooth.
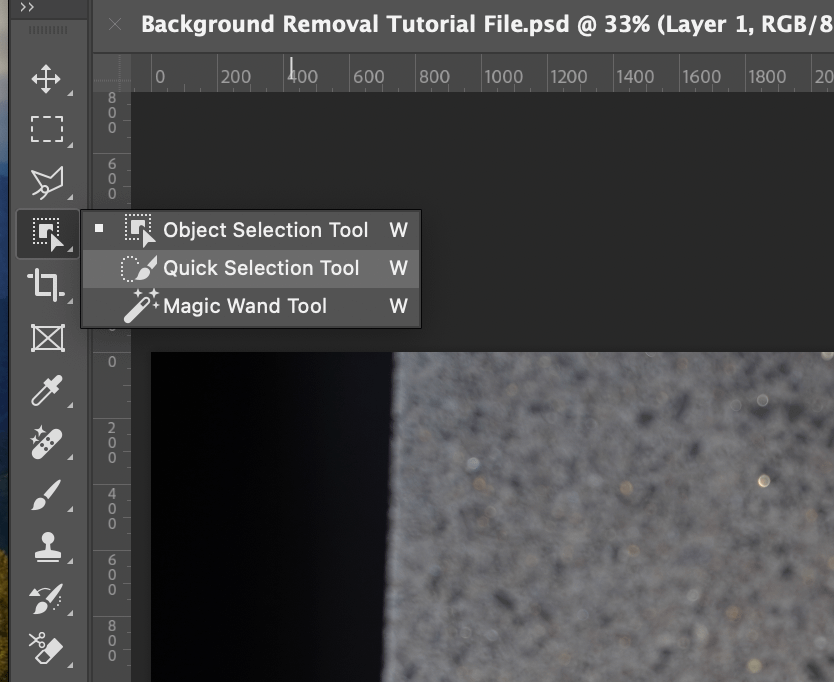
2. Use the Object Selection Tool
The Object Selection tool also utilizes AI technology to do the work of background removal for you by selecting the subject in your images. Let’s show you how you can use it.
- Open up your photo in Photoshop and navigate to the toolbar on the left-hand side and select the Object Selection tool (It will be in the same menu as the Quick Selection Tool and Wand Tool).
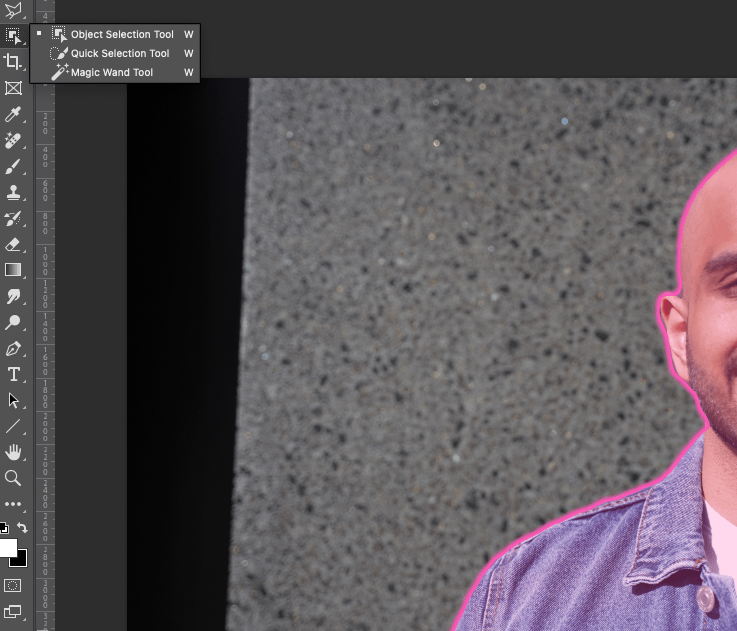
- After you have selected the ‘Object Selection’ tool, hover your cursor over your subject and wait for it to turn blue / purple. Instantly, your subject is ready for selection.

- You should see the marching ants around your subject.
- BONUS: If you wanted to remove the subject, but keep the background you can go to Select > Inverse to invert the selection. But for this tutorial, I will be focusing on removing the background.
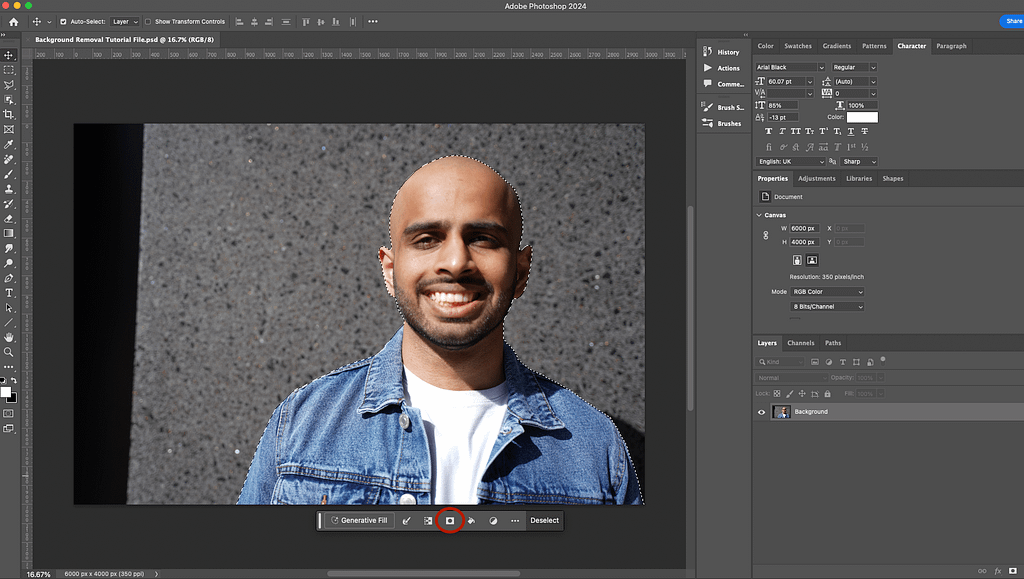
- At the bottom of your workspace, you should see a menu for different buttons. You can select the Layer Mask button to create a layer mask. Select ‘layer mask’ and the background should now be removed.

- With the layer mask, remember that ‘Black’ hides the pixels of the image while ‘White’ shows pixels of the image.
- You can use the ‘Brush’ tool to paint over the layer mask to hide or show parts of an image.
- Other tutorials will tell you to use the ‘Eraser’ tool. However, these are destructive methods that will cause permanent changes to your image.
- If you want to work on erasing backgrounds non-destructively, I would always suggest you to create layer masks and erase the background using the ‘Brush’ tool on the layer mask.
- Wherever possible, avoid editing on rasterized layers and always edit your images non-destructively with layer masks if you do decide to come back later and make changes.
- If you want a transparent background, you can follow the steps outlined here and leave it here.
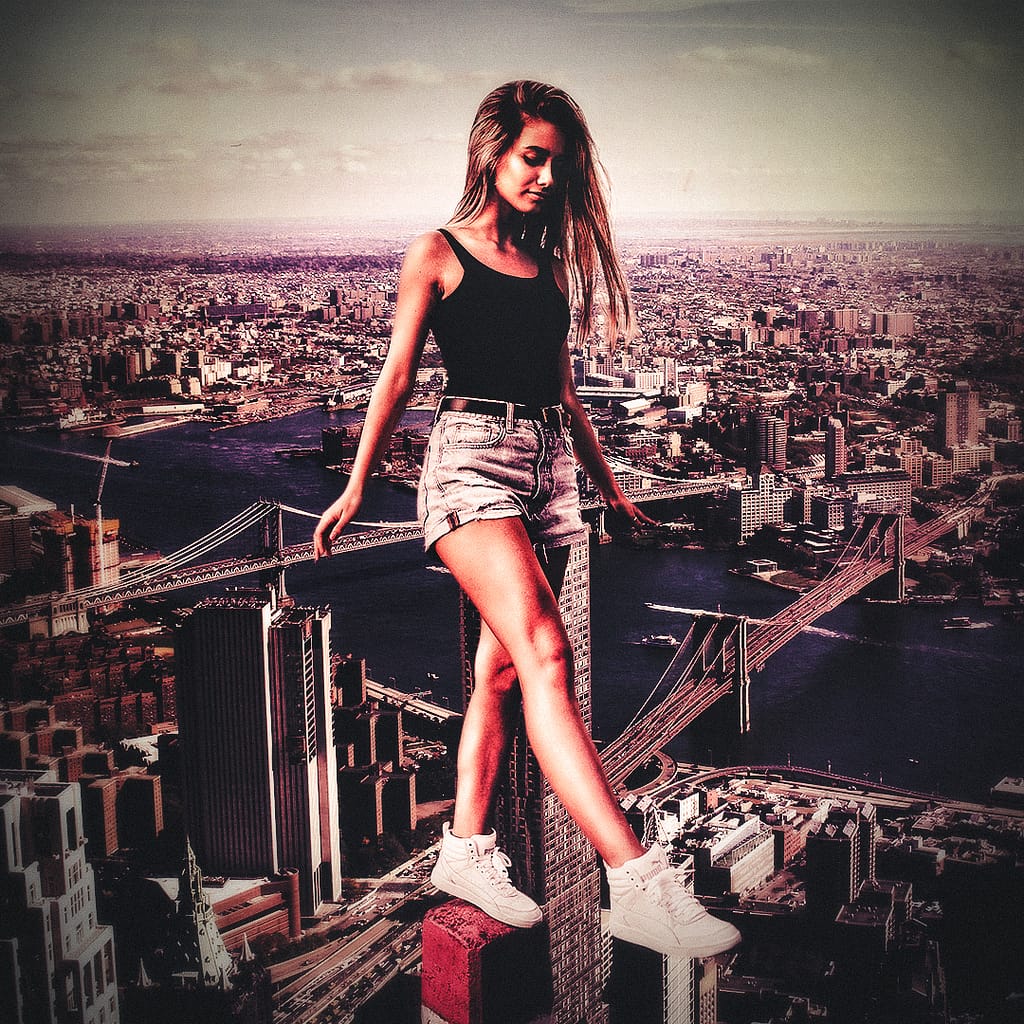
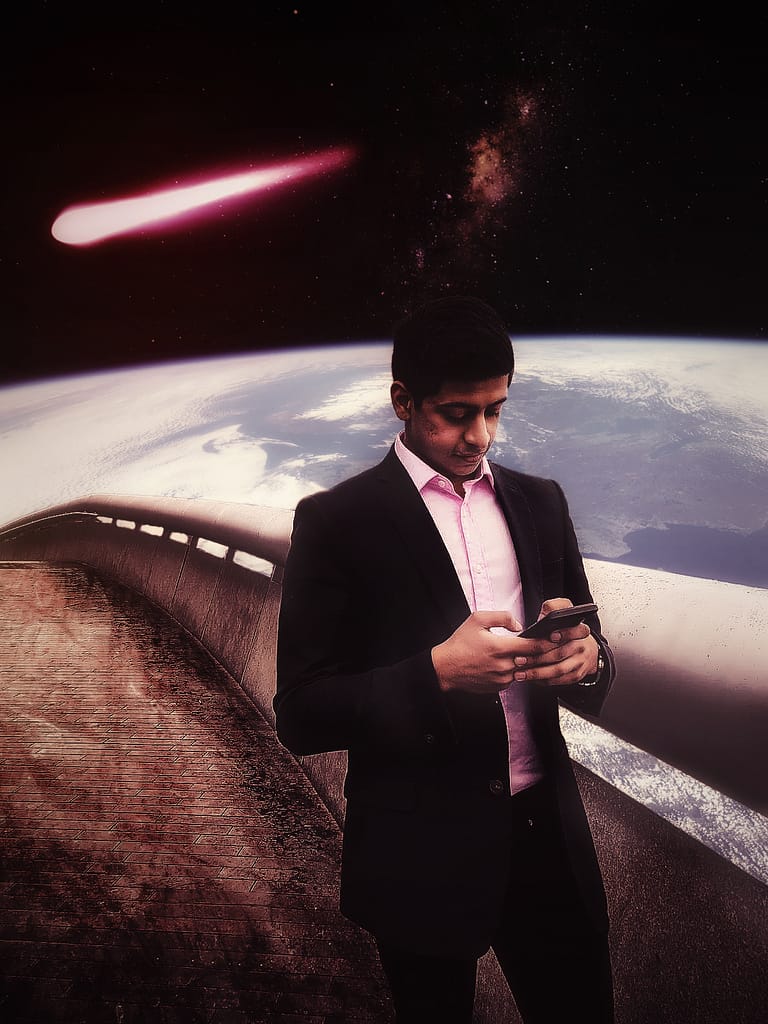
- However, if you want to add a different image to your background, you’ll need to unlock your image so it’s no longer a background layer.
- Import the background image you want and place it below your image layer in the Layers panel, you should get something like this (see below).
- The background will need to be color corrected to match the color tones of the subject to blend in effectively. However, that is a tutorial for another time and I can show you how to color correct images in a different blog post.
Don’t worry about Photoshop losing the selections. Simply reselect your objects, select the “Object Selection” tool and hover over your subject again.
You can also edit the mask created by the Object Selection tool. Refer to this guide here: https://helpx.adobe.com/uk/photoshop/using/making-quick-selections.html
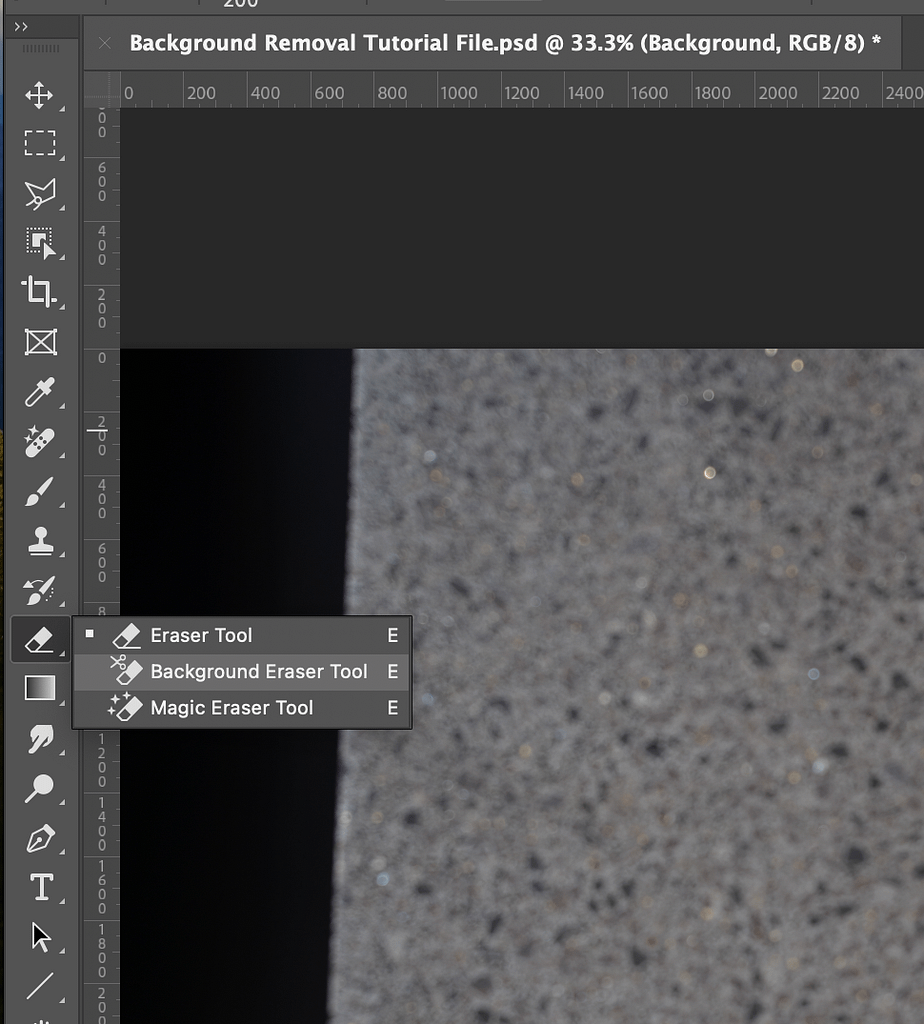
3. Remove Background with Background Eraser Tool
When you’re working with high contrast images, you can use the Background Eraser Tool. However, this method is time consuming if you want to achieve a good outcome.
If you need more control over background removals in Photoshop but still want Photoshop to do most of the hard work for you, this is a great tool for that. If you want more control, you’ll need to make sacrifices and that is sacrificing time to get the result you want in your edits.
It really does depend on the photo you use. But for certain images, the Background Eraser tool can be very good for achieving the desired outcome if you’re willing to be patient with it.
Steps
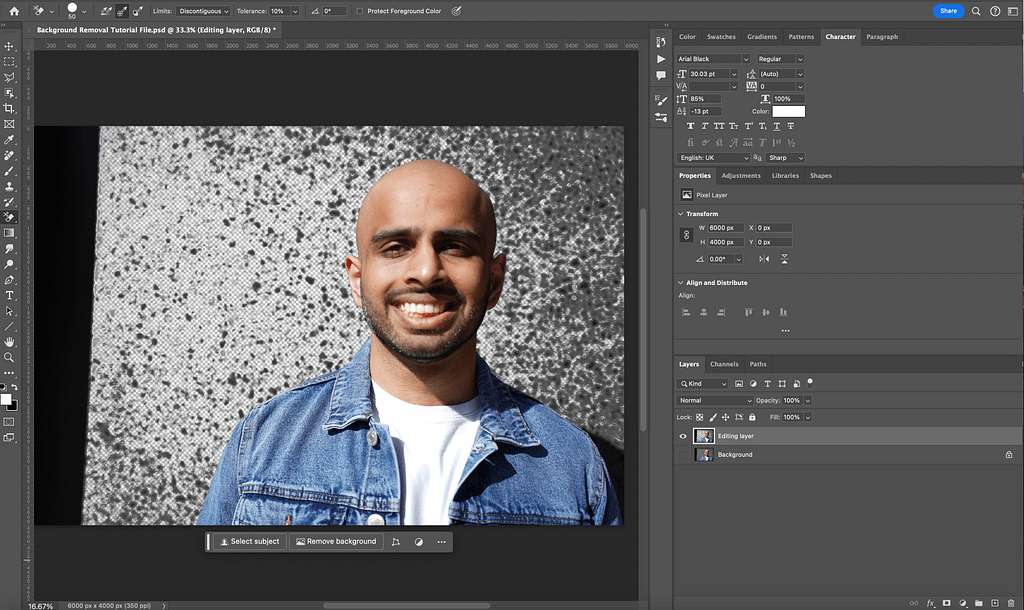
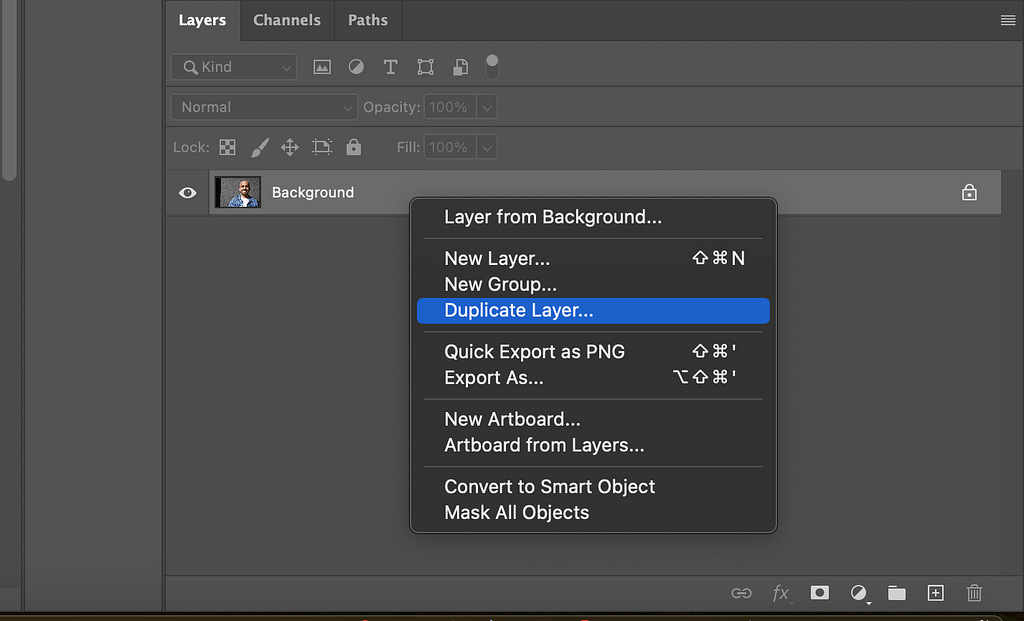
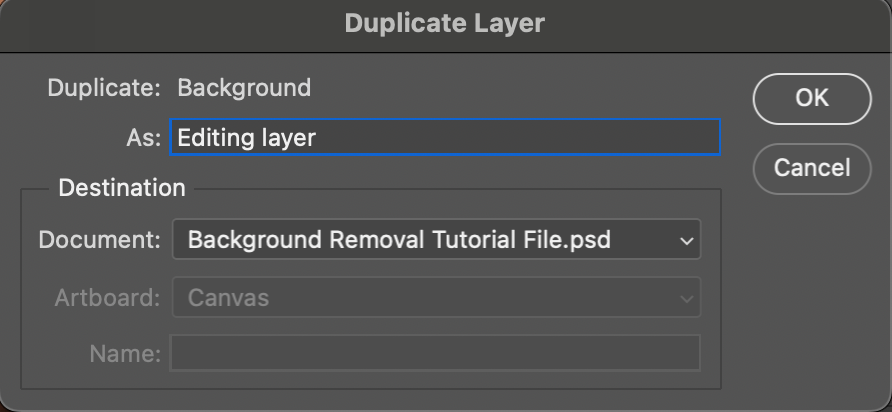
- Import the image you want in Photoshop. Right click your background layer and click Duplicate Layer. (Or Ctrl + J shortcut with the background layer selected).
- Name your layer to whatever you want and click OK. Click on the eye icon for the original background layer to hide that layer.


- Select the Background Eraser tool from the toolbox on the left side where the Eraser tool is located.
- In the tool options bar at the top, click the brush icon to reveal the panel and change the hardness so that it’s at 100%.
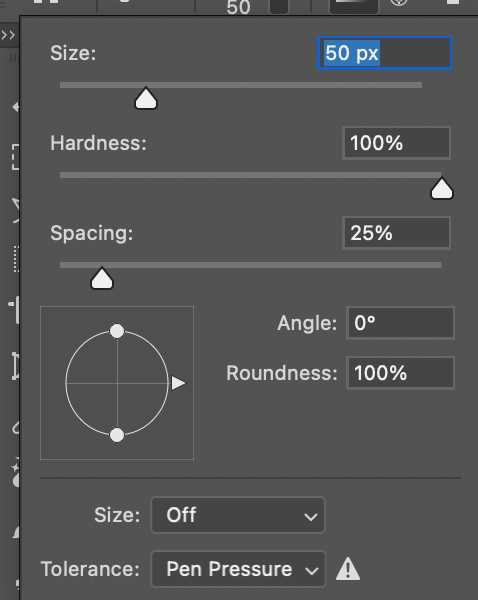
The size can vary for the image you’re working with but in my case, I will use 50px and the brush size can be adjusted it as we go along (Keyboard shortcuts are ‘[‘ and ‘]’).
Make sure the Sampling is set to Continuous at the top bar. Set the limits to Find Edges and the Tolerance to around 20-25%.

The lower the tolerance, the fewer color variations it will pick up. Similarly, the higher the tolerance means that the more colors the tool will pick up.
- Start erasing the background around your subject using the Background Eraser tool by clicking and holding while moving the brush. The key here is to keep the crosshairs inside the tool from touching your subject, zoom in if you have to.
- Do short strokes with the brush and remember to let go of the mouse from time to time so that you have the option to Undo if you overdo it.
There will be some areas that are more challenging to erase, you may need to adjust the brush size as you go along. You can revisit the tools option bar at the top, or using the keyboard shortcuts [ and ] to adjust the brush size.
However, if resizing the brush does not work, undo your action. Then go into the tool options bar at the top and adjust the Sampling to Once, the Limits to Discontiguous, and the Tolerance to 10%.
With these settings, the brush will only use the color under the crosshairs in that moment instead of resampling as you go along.

This process can be quick or it can be tedious depending on the image you’re editing. It can provide a good result, as it allows you more control of determining what you want to include or leave out.
If you’re not a fan of this method, there are other methods mentioned in this article that you can refer to which will help you get closer to your desired result.
You can refer to the guide by Adobe for more detail on the Background Eraser tool here: https://helpx.adobe.com/photoshop/using/erasing-parts-image.html#change_pixels_to_transparent_with_the_background_eraser_tool
In my opinion, the problem with this tool is that it only works on rasterized layers and won’t work on Smart Objects. Using the Background Eraser tool is destructive editing and I’m personally not a fan of this method myself.
I always recommend people to work with Smart Objects wherever possible and to use layer masks for removing the background. But do note that this is another option for removing the background in your edits.
4. Remove Background with Pen Tool
This is my go-to tool for background removals.
The Pen Tool is great when the subject and background are not highly contrasted or when other tools such as the Quick Selection, Quick Action or Background Eraser tool mentioned above are not producing the results you want.
More often than not, the images you work with won’t be highly contrasted. The good news is the Pen Tool gives you the most control out of all the methods I’ve highlighted in this article.
The Pen Tool is in my opinion one of the best ways to remove backgrounds from images in Photoshop. You have more control on what you can erase from the image. The downside to this method is it can be very time-consuming and boring.
Patience will be key here. Think ‘delayed gratification’ when you’re working with the pen tool, you endure the boring parts to see the end result which is usually going to be exciting, making it worth the extra effort.
Steps
- Import the photo you want to edit into Photoshop.
- Select your Background layer and hit Ctrl + J (Duplicate Layer). Name your layer to anything you like and click OK. Click the eye icon to the left of the original Background layer to hide that layer, we don’t need that now.


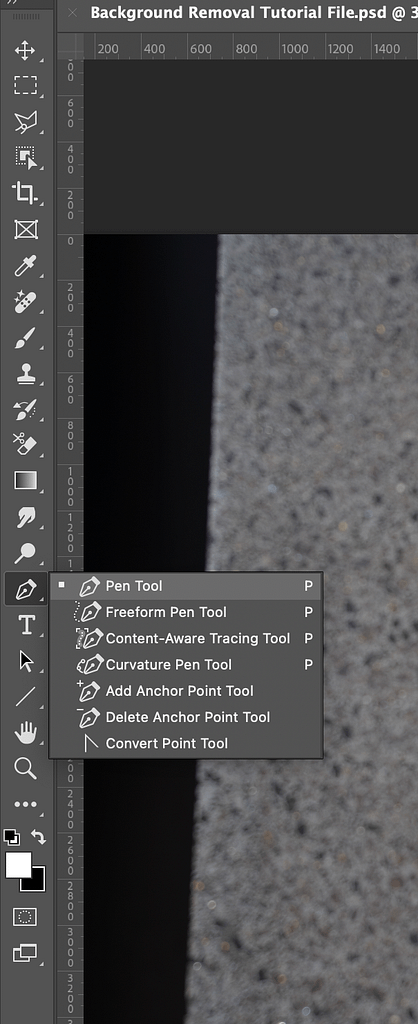
- Select the Pen tool from the toolbox on the left side. Make sure at the top, it’s set to Path and NOT Shape. Then zoom into an area of your image to start. I would recommend starting on the edge of your subject or anywhere that’s easiest to start off with.

- You can click to start the first anchor. Then slowly start working your way around the subject, adding additional anchors along the way and you should expect to see an outline around your subject when you have completed this step.
- This process will take time so please be patient and take your time with it.
- If you need to make a curved line, you can click-hold-drag to produce a curved line and move the mouse to adjust the curse as necessary.
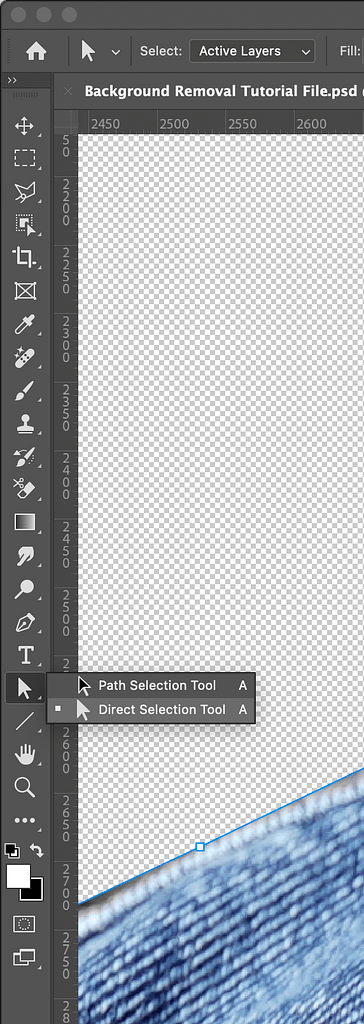
- To adjust the anchor point for tweaking, use the Direct Selection tool in the toolbox. Hold down Cmd (Mac) / Ctrl (PC) and select the anchor point to control that one particular anchor point. If you try to move the anchor point without holding down Cmd / Ctrl, you will end up moving the entire mask.
- To undo the anchor point, hit Ctrl + Z (Undo).
You can also refer to this guide about the Pen tool and working with paths in Adobe Photoshop: https://helpx.adobe.com/photoshop/using/editing-paths.html
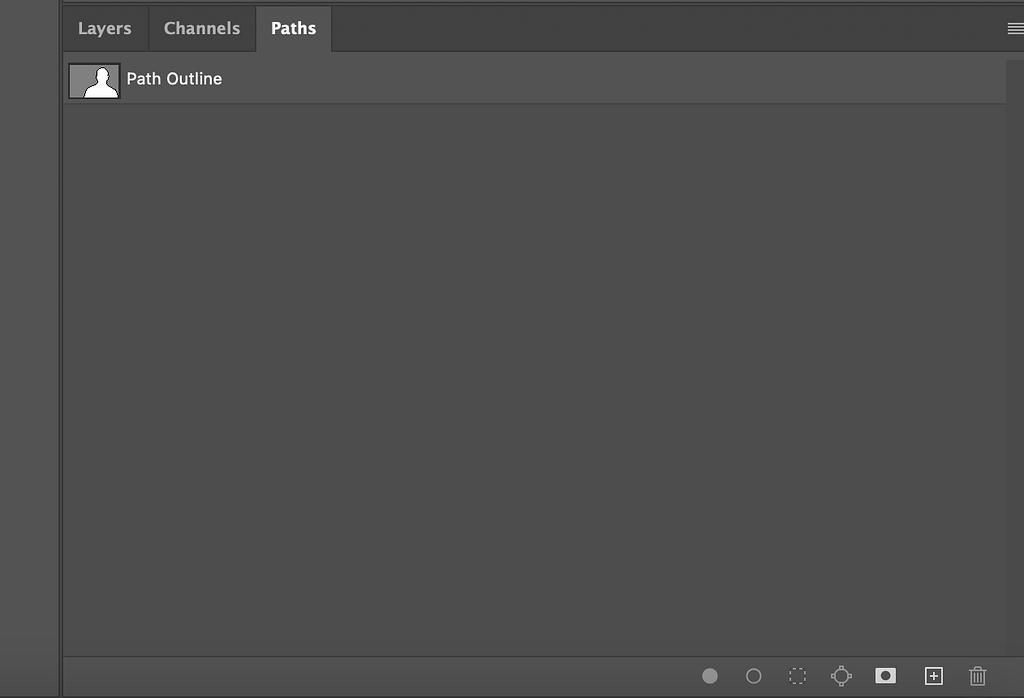
Once you’ve completed the path, as outlined in the video above. Save the path by going to Window > Paths to reveal the Paths panel. Click the hamburger menu on the top right and select New Path. Name your path. Now your path will be saved in the Paths panel.
- Right click your new path and select ‘Make Selection’ then click ‘OK’ in the dialog box. You will then see the marching ants outline around your subject where your path was.
- Then hit the layer mask icon in the bottom right and this will hide the background in your image. As we mentioned before, the white will show the pixels of the image and the black will hide the pixels of the image. I encourage everyone to remove backgrounds non-destructively with layer masks wherever possible. This will give you the option to go back and make amendments if you need to later on.


You may sometimes find that this may not get you 100% results. Instead, I would recommend you use the Pen tool as a supplement along with the other methods outlined here.
If you are trying to remove the backgrounds from photos where the subject has hair strands or hairlines, I would use the ‘Select and Mask’ tool to refine the edges of the hair. The Pen tool is not very efficient at separating the hair from the background. I will cover the ‘Select and Mask’ tool at some point to show you how to remove hair from an image.
More about the Pen tool: https://helpx.adobe.com/photoshop/using/drawing-pen-tools.html#Pentool
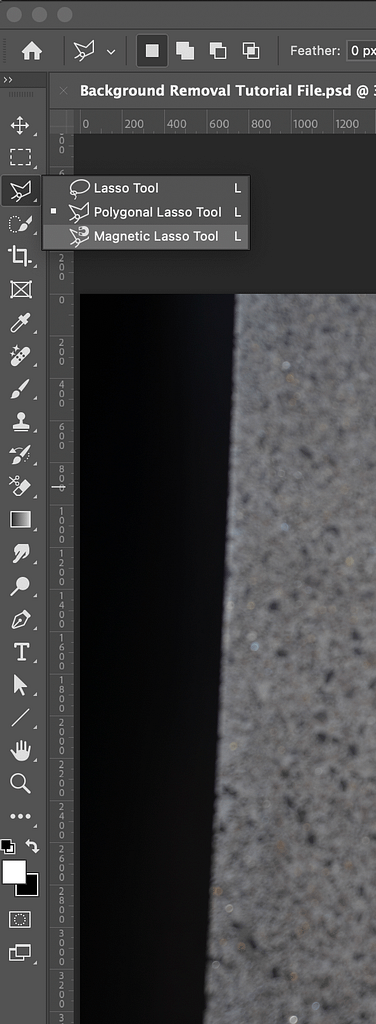
5. Remove Background with Magnetic Lasso Tool
The Magnetic Lasso tool is another great tool to use after the Pen tool. This is great for images where the subject is highly contrasted from the background with complex edges. This will be ideal for saving time by having Photoshop automatically create the selection path for you.
The problem with the Pen tool is that it can be time consuming and a lot of effort. The Magnetic Lasso tool is a quicker alternative to the Pen tool.
Steps
- Import the photo you want to edit into Photoshop.
- Select your Background layer and hit Ctrl + J (Duplicate Layer). Name your layer to anything you like and click OK. Click the eye icon to the left of the original Background layer to hide that layer, we don’t need that now.

- Select the Magnetic Lasso tool from the toolbox on the left side.
- Start drawing along the edge of your subject and you’ll find that as you move the cursor, it will draw a path for you. In the real world, you’ll want to be patient with this process and take your time with the selection by being slow, steady and intentional. For demonstration purposes, I am only going to do a rough selection around the subject.
- You’ll need to go around your subject and come back to your starting point to make a selection. You should see the selection turn to marching ants when you’ve completed this step correctly.
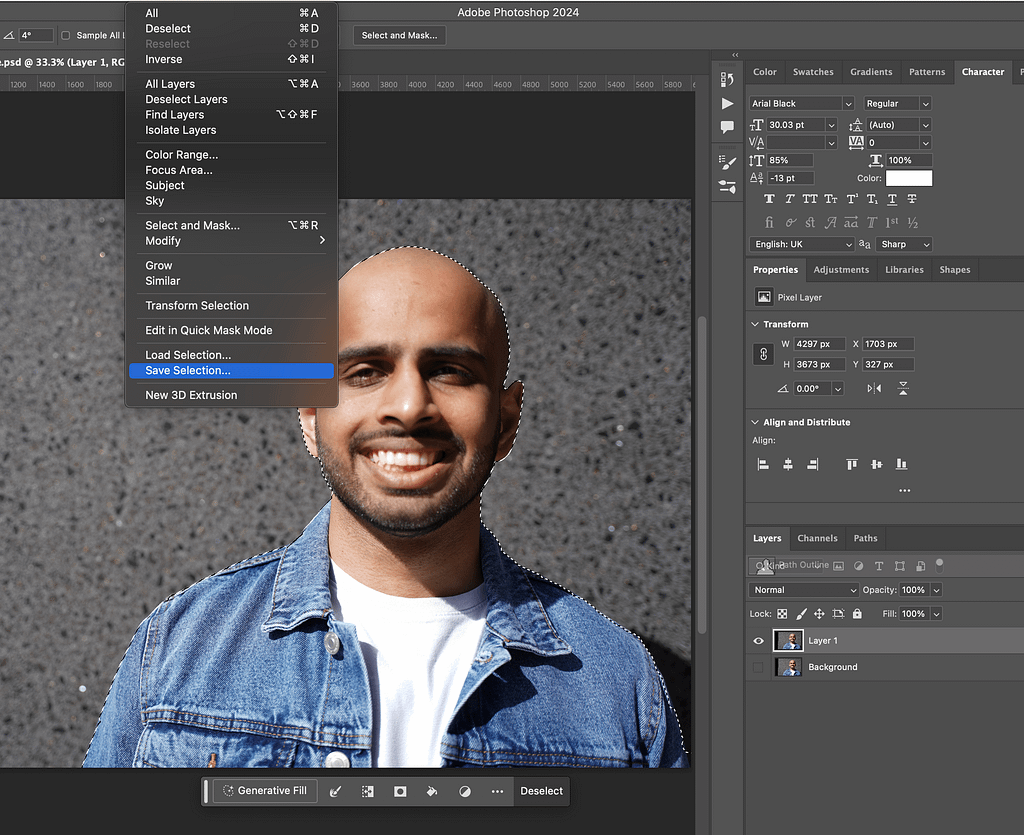
- You can save your selection by going to Select > Save Selection if you want to refer back to it later.
- To remove the background, hit the layer mask icon at the bottom and you should see the background removed.
- If you need to make adjustments, you can simply refer to the layer mask and paint ‘White’ on the subject you want to show whilst painting ‘Black’ on the pixels you want to hide from the image.
You can also use a combination of the other methods highlighted in this article to bring you closer to the result you want.
If you want to further learn how the Magnetic Lasso tool works, you can refer to this guide: https://helpx.adobe.com/photoshop/using/selecting-lasso-tools.html#select_with_the_magnetic_lasso_tool
6. Remove Background with Quick Selection Tool
The Quick Selection tool is a great method when the subject has some contrast from the background or if you want to save time and have reasonable accuracy as well as the ability to quickly tweak your selection.
This is by far the fastest way to make a selection around your subject and make those refinements to the selection. This works well for the majority of photos you import into Photoshop. This works by detecting the color changes and it decides where the selection should be. I would say this should be your other go-to method when you’re working with images that are contrasted from the background.
Steps
- Import the photo you want to edit into Photoshop.
- Select your Background layer and hit Ctrl + J (Duplicate Layer). Name your layer to anything you like and click OK. Click the eye icon to the left of the original Background layer to hide that layer, we don’t need that now.


- Select the Quick Selection tool from the toolbox on the left.
- Now paint around your subject. You should see the marching ants around your subject as you brush along. You can adjust the size of your brush by using the keyboard shortcuts [ and ] depending on how much you want to select.

- Sometimes you may find you have selected pixels outside of your subject. When this happens, simply click and hold the Option key (Mac) or Alt key (Windows) and you’ll see the Quick Selection tool will change from a plus + to a minus – symbol. Similarly, you can select the plus or minus symbol from the top menu.
- Plus + symbol will add to the selection
- Minus – symbol will subtract from the selection
- While holding down the Option / Alt key where the minus symbol is showing, you can paint over the areas you don’t want in the selection.


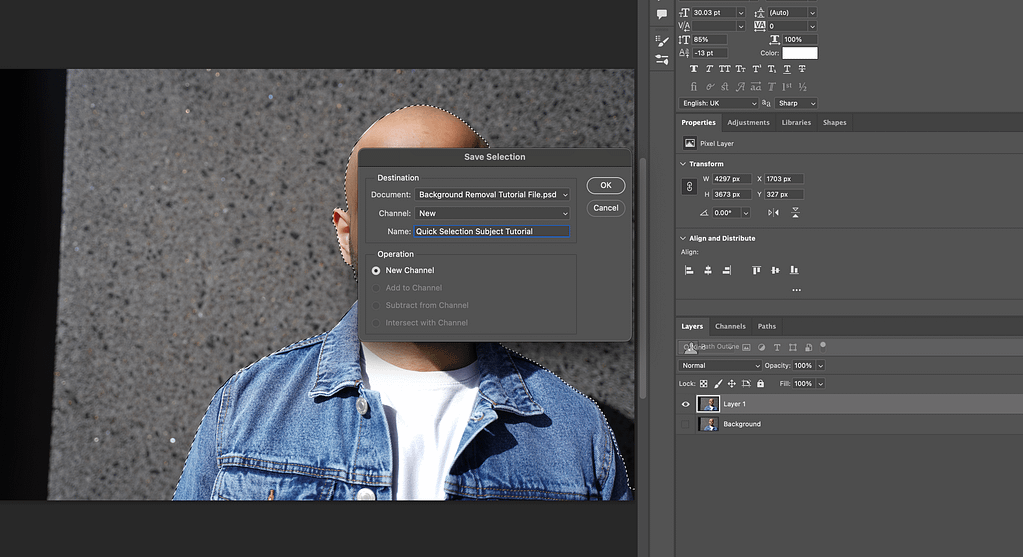
- Now save the selection by going to Select > Save Selection and name it whatever you want to call it.
- This will be handy when you want to come back later to make refinements to your selection.
- Now to remove the background, make sure you see the marching ants around your subject before you do this step. Once you’ve made your selection, add a layer mask to your image by going to the bottom right and selecting the Layer Mask Icon.
The Quick Selection tool is not perfect, so if you find you need to make any refinements to the mask. Simply go to the layer mask and paint over any area’s you want hidden with Black and use White color to show pixels.
- Black hides the pixels of the image
- White shows the pixels of the image
Other tutorials will tell you to delete the background on the rasterized layer. However, this is destructive editing and also inefficient for removing the background from your subject. It will be difficult to make amendments later on and I do not recommend people to rely on Ctrl + Z to undo the changes.
Instead, I would suggest you stick to the layer mask method where you can restore the hidden parts of the image later on if you wanted to. Always work non-destructively wherever possible and use layer masks for background removal.
Here’s a guide on how the Quick Selection tool works for further reading: https://helpx.adobe.com/photoshop/using/making-quick-selections.html#select_with_the_quick_selection_tool
Summary
How to remove a background
To remove a background from an image in Photoshop:
- Open your Image in Adobe Photoshop, either directly or creating a new file from which you can go to File > Place Embedded and import the image that way.
- Select the subject using any of the tools shown in this article. The Quick Selection tool will work great for simple backgrounds. More complicated backgrounds will require the use of the Pen tool
- Refine the selection using ‘Select and Mask’ option or ‘Refine Edge’ in older versions of Photoshop. This helps to smooth out the edges and produce better results. Especially when there is hair involved, you’ll need to use ‘Select and Mask’ and make sure you feather the edges for a more smoother look and so it looks less choppy.
- Use Layer Masks to remove the background non-destructively.
- (Optional) Import a new image into your Photoshop workspace and place it below your image layer to show a new background. You can either place another image below your subject image or you can create a new layer and fill it with a color.
- Add final touches to your image through layer masks where you can further refine the edges of your image to allow it to blend seamlessly with the background. Please take your time with this step, patience is key.
- Once you’re happy with your edit, you can save the image by going to File > Export and then select ‘PNG’ format to allow you to preserve the background.
- If you save in JPEG format, the background will turn to a White color by default and in most cases, you don’t want this. So make sure you choose PNG format when saving with a transparent background, that will allow you to place the image on top of other images or vectors in different projects or on the web.
This is a summary of steps to remove the background from your image in Adobe Photoshop. The different tools and techniques you use will depend on the complexity of your image along with your editing style and preferences.
The tools that remove backgrounds in Photoshop
Here are the following tools you can use to isolate your subject from your background:
- Magic Wand Tool: Selects pixels of a similar color with a single click. It works well for simple backgrounds with distinct contrast between the subject and the background.
- Quick Selection Tool: Allows you to paint over the area you want to select and automatically detects the edges of the subject. Great for images with more complex backgrounds.
- Pen Tool: A precise option for creating paths around your subject. This is my go to method and it’s helpful for intricate selections and subjects with well-defined edges.
- Lasso Tool: Lets you draw a freehand selection around the subject. It’s good for irregularly shaped subjects.
- Select and Mask (or Refine Edge in older Photoshop versions): After making a selection, you can use the “Select and Mask” option (or “Refine Edge”) to fine-tune the selection and refine the edges, making the transition between the subject and the background smoother and look much more blended in.
After using these selection tools to isolate the background, you can add a layer mask to hide it. The specific method you use depends on your desired result. There isn’t a single tool for background removal, you need to use a combination of tools and techniques to achieve the result you want. There are no shortcuts to good background removal.
The edits where I applied the strategies shown in this article.


Conclusion
Now I’ve shown you all the methods of removing a background from your image in Photoshop.
Whether you’re looking for a quick and easy way to remove the background from the subject, or you need to replace a background with the image you want, the methods above will help you reach your end result much faster and with good results.
Your workflow will definitely be much quicker if you know which of the above methods to use depending on the scenario you are in. The final image will be much better when you select the appropriate method.
For best results, I would recommend taking photographs of your model or subject against either a green screen background or a background that contrasts with the subject.
This will make the background removal process much easier and smoother, leading to a better final result.
Especially when there’s hair involved, I would highly recommend taking the photograph against a green / blue screen wherever possible.
If this is not possible and quite likely it won’t be, then using a combination of the methods outlined here along with the ‘Select and Mask’ tool to smoothen out the hair will be best.
In reality, you’ll probably have to use a combination of the methods outlined here to get the result you want. Often, I have to use different methods when I’m doing the background removals in my edits.
If you need to save your image without the background, don’t forget to save it as a transparent PNG so that you can use it in your other applications and maintain the background-free image.
If you save it as a JPEG, it will show as an image with a white background, in most cases you do not want that so I’d highly recommend saving in PNG format.
Hope you found this tutorial useful. Now you’re ready to apply these methods into practice. I look forward to seeing your edits.
If you have any doubts or questions about this article, feel free to send me an e-mail to baz@bazkannan.com and I will get back to you.
Written by Baz Kannan